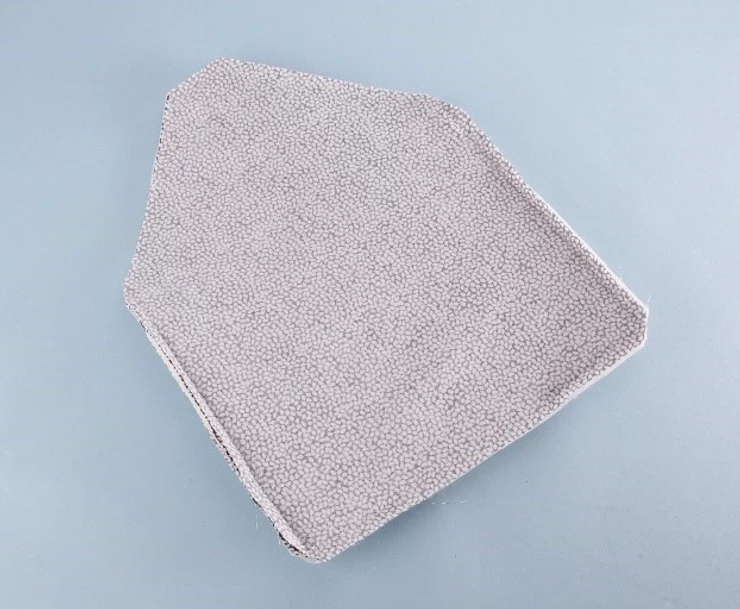
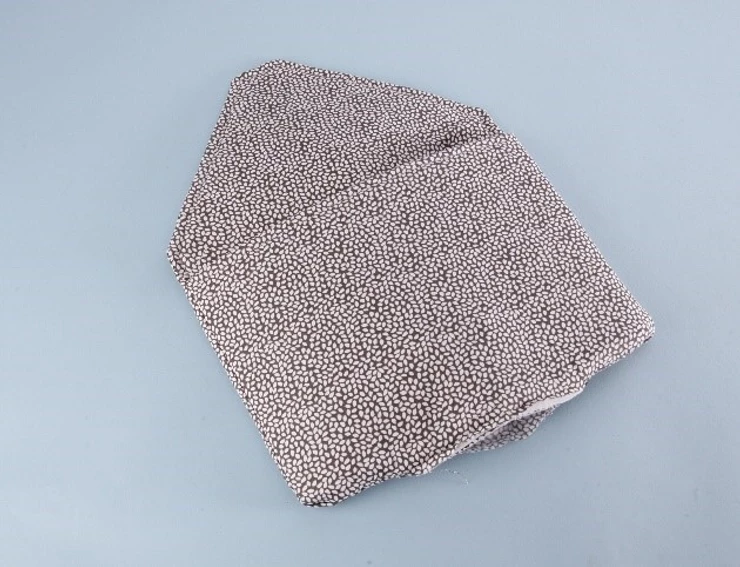
Corner Lock Clutch Bag – Free Bag Tutorial

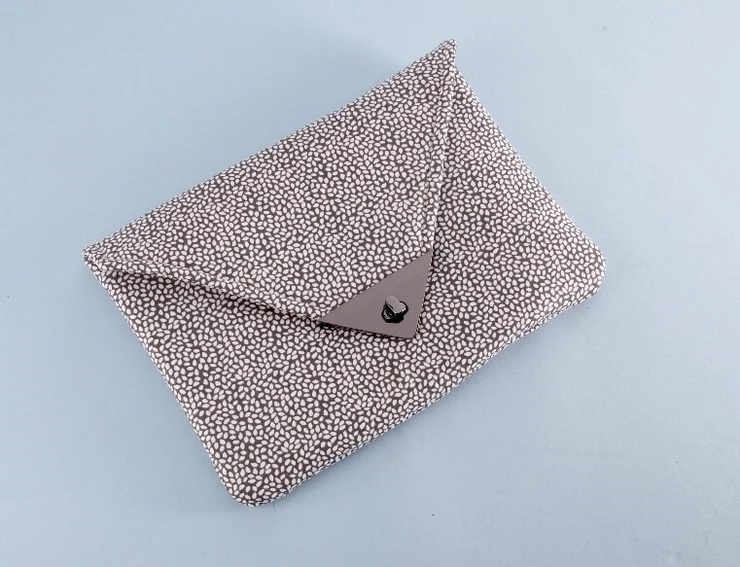
This simple, elegant bag is given a professional finish with a stylish lock clasp. A non-directional print works best.
Fusible foam stabiliser adds form to the bag, if you’d prefer to use fusible fleece, add to each section of fabric.
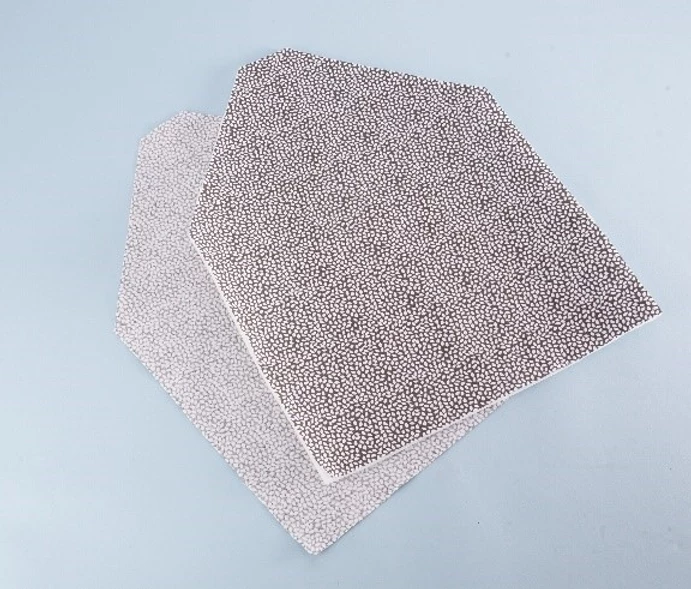
Cut:
· 3 pieces of fabric measuring 11” x 15” (shop all fabric)
· 1 piece single sided foam stabiliser measuring 11” x 15”
· 1 piece single sided foam stabiliser measuring 11” x 7.5”
· Corner purse lock – pewter or silver
· Tiny cross head screwdriver
· Ruler and marking pen
· Fabric glue such as Gutermann HT2 [optional]
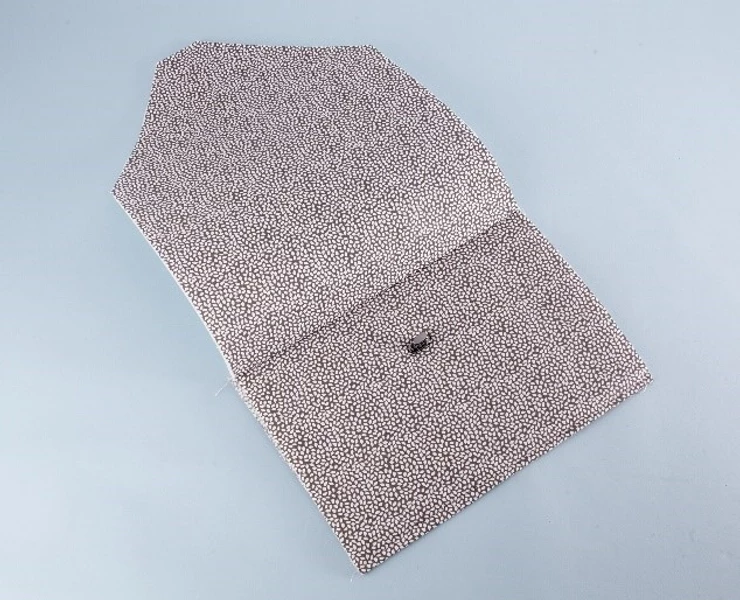
1. Take two of the fabric pieces. Crease the top centre of each piece. Measure and mark 4” from the top of each side, then cut from the centre point to these marks to form a point.

2. Measure 1.5” from the point and cut across. Fuse foam stabiliser to the wrong side of one piece.
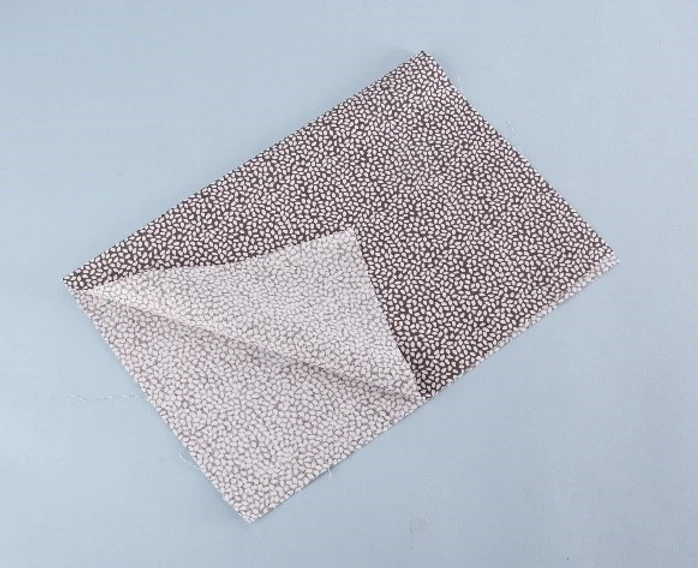
3. Fold the remaining fabric in half and press.
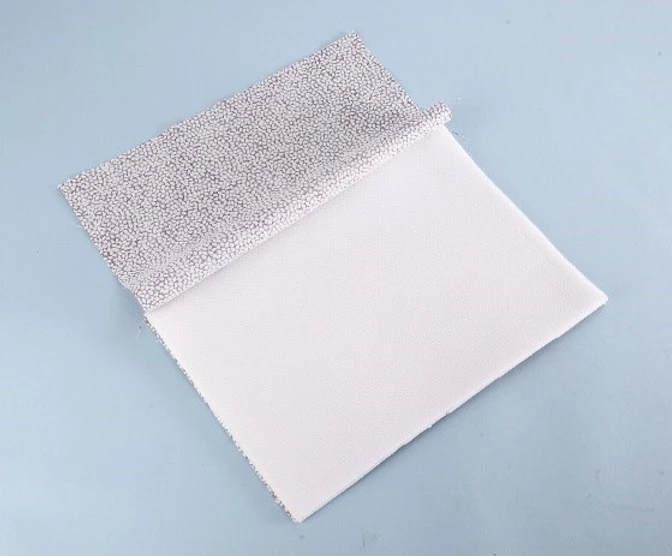
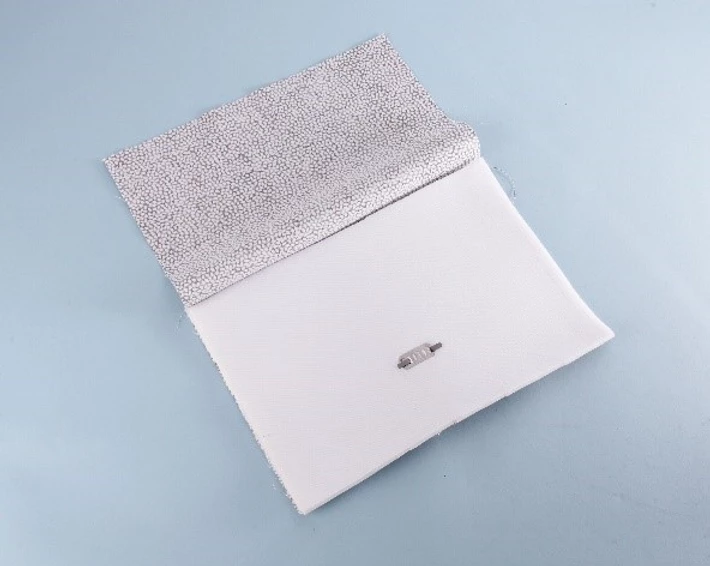
4. Fuse foam stabiliser to one half of the fabric.
5. Measure and mark the centre of the foam side, 2.5” from the bottom. Take the lock with prongs from your pack, place the prongs each side of the mark you’ve made, and mark their position. Make tiny cuts into these marks. Push the prongs of the lock through the snips.
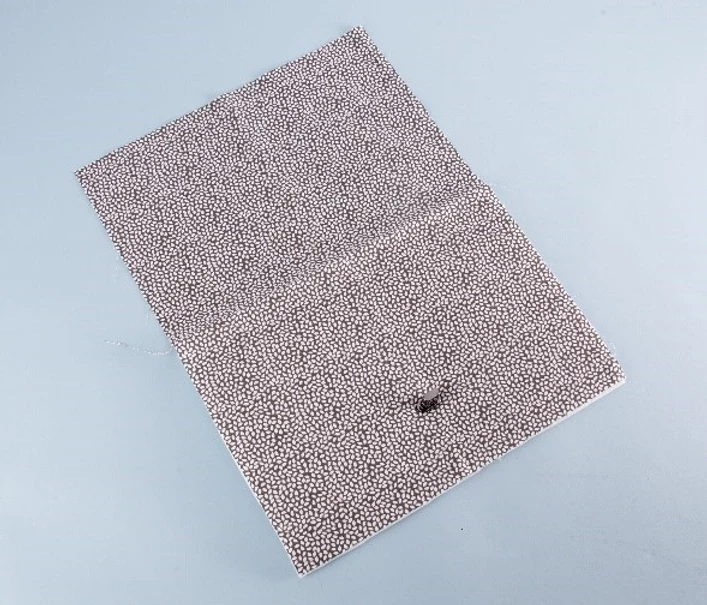
6. Push the prongs through the lock backing, and squash the prongs open.
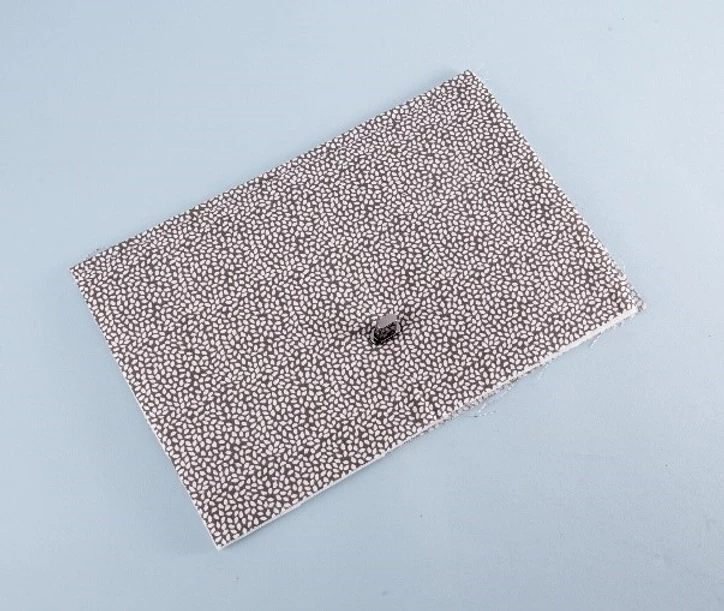
7. Fold the fabric over the foam and edge stitch across the top.
8. Sew the front of the bag right sides together to the foamed side of the back, just along the bottom.
9. Place the remaining fabric right sides together over the back, sandwiching the front of the bag in the centre. Sew all around, leaving a turning gap of about 4” in the bottom. Don’t sew over the cut-off point. Trim the corners.
10. Turn the right side out. Top stitch around the flap, then hand sew the opening closed.
11. Turn through again. Trim the cut-off point if necessary so the end measures 2.5” across. Drizzle a little wet glue across the end, and push inside the clasp. (Make sure you don’t get glue on the metal!) Screw in the three tiny screws.
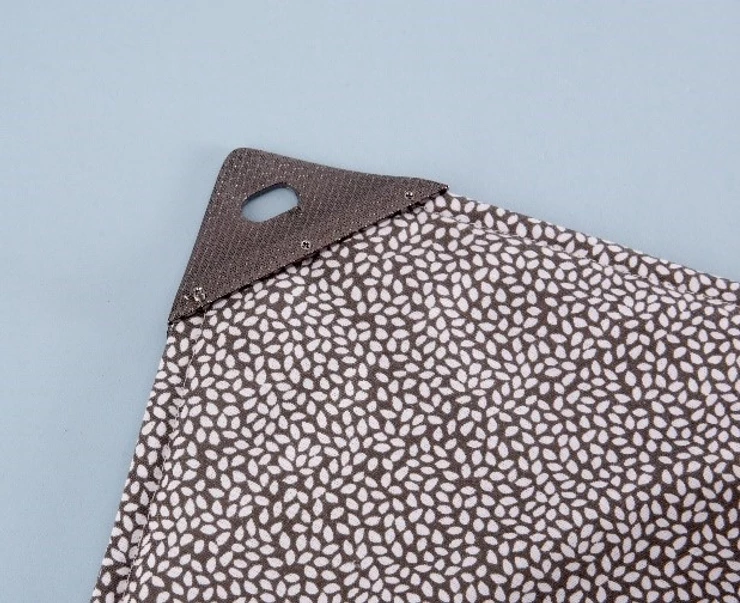
12. Fold over the flap and fasten the lock. You’re finished, admire your beautiful work!